Thursday, December 30, 2010

Random Act of Spontaneity

Mr. Not-So-Spontaneous surprised me tonight. We were sitting at a restaurant eating dinner and watching the snow fall when he remembered a time as a kid that his dad took him and his siblings sledding at night. Then he asked if we wanted to go. Tonight.

I was so excited at his Random-Act-of-Spontaneity that I agreed immediately. Surely it's normal to drag one's children out to a park at a busy intersection in the middle of town at night, when it's snowing heavily, to go sledding.

Or maybe it's not. But we still had a great time.


Admittedly, it wasn't all for the kids... it was fun for Mommy and Daddy, too.

Tuesday, December 28, 2010

Because it's perfectly normal to crochet falafel.

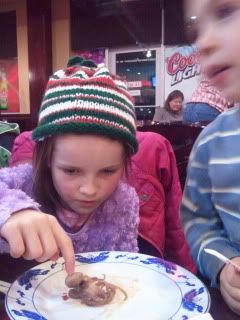
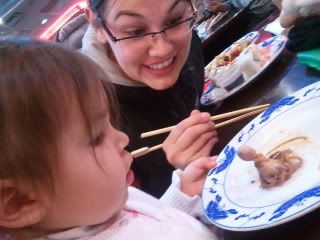
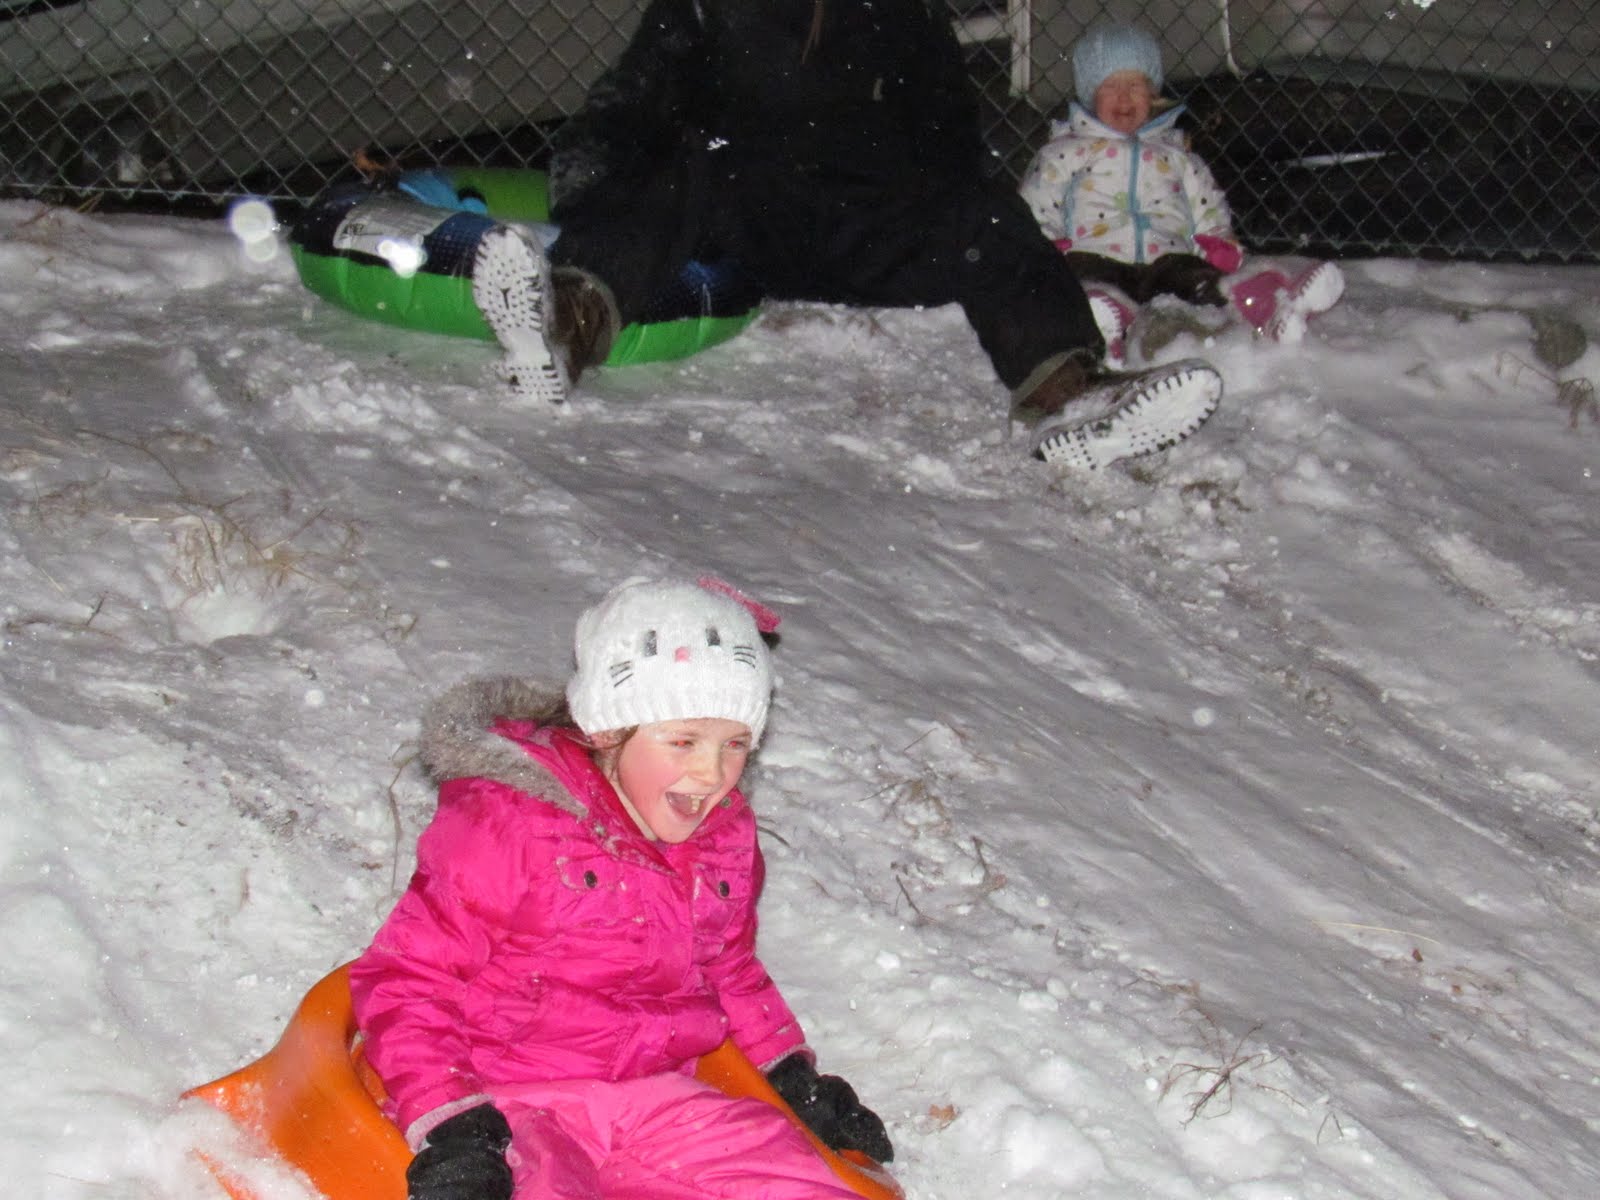
How was everyone's Christmas? I do hope you all had as lovely a time as I did. It's been awhile since my last blog, we're just starting to emerge from the rubble and begin functioning again. For family members interested, I'll post a bunch of Christmas pictures on my Facebook for you all - the girls really had a blast, got everything they were hoping for (and more!)

Now that Christmas gifts have all been opened and played with, I can finally share pictures of some of the homemade ones.

Santa brought Cora a play kitchen. (Note: Santa found a reasonably priced kitchen that is made in America. I was thrilled.) When I came across the book 
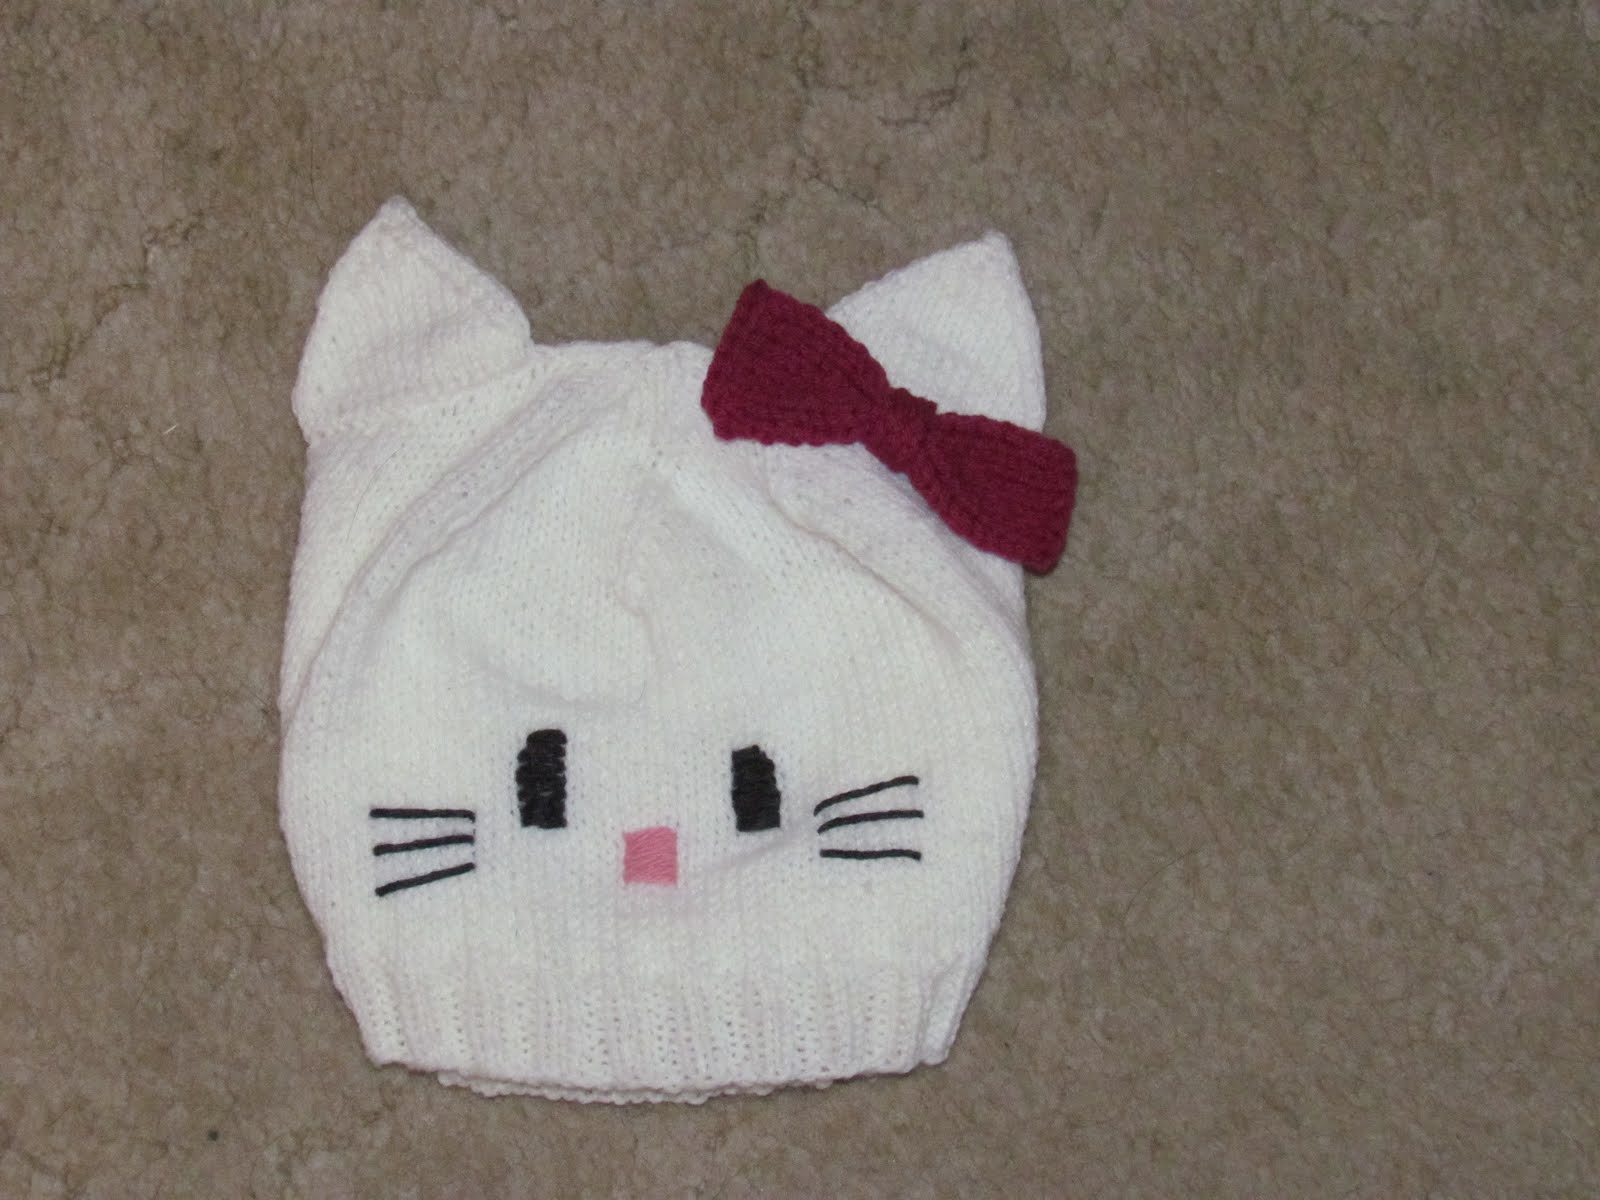
Tasty Crochet by Rose Langlitz, it just seemed like these little crocheted treasures would be the perfect accompaniment to the kitchen. So I locked myself in my bedroom each night for a month after the girls were in bed and set to work with a basket of scrap yarn and a crochet hook.

A fried egg, bacon, a toast triangle, and a shell for the egg:


Pancakes with butter and a Pop-Tart:
Peanut butter and grape jelly sandwich on white bread (all separate pieces):And a salami sandwich on whole wheat:

The salami sandwich has two slices of salami, two sliced tomatoes, two lettuce leaves, and a slice of swiss cheese (which I forgot to photograph, oops):And then there's the taco (with shredded lettuce, chopped tomato, and ground beef with embroidered cheese):


And my personal favorite, a pita pocket filled with falafel, lettuce and tomato wedges:Carrot and green beans. We need more veggies. I feel mildly compelled to create my own pattern for kohlrabi. I'll let you know how that goes.

Ah, and sushi. Because crocheted sushi is awesome. (tuna roll, avocado roll, and egg nigiri)
And the fruit: a pear, an apple, strawberries, and apple wedges:And pizza (with separate crust, sauce, and topped cheese) and a mini-cheeseburger.
And for dessert, chocolate cake or pumpkin pie.
I didn't have time to finish every pattern - I still really want to make the asparagus, the ice cream cone, and the bagel with cream cheese. I highly recommend this book and these cute little patterns - each one took between fifteen minutes (for a fried egg) and an hour (the chocolate cake and pizza.)

When they were playing restaurant yesterday, Chloe asked for a piece of paper to make a menu. I got a bit creative and came up with these:


Printed menus with blank spaces for writing, plus a shopping list and receipt for when they're playing store. I used clear contact paper (my newest favorite thing) to "laminate" the pages, so they can write with a dry erase marker and change it as often as they want.
It's the perfect mix of play and homeschool - practice with writing and spelling, awareness of community workers and occupations (chef, waitress, store clerk) and the receipt encourages math.

The best part of it all? The cost of the entire gift was negligible, because I was able to use scrap yarn for almost all of it and got the book from the library.

Wednesday, December 22, 2010

FO - Hello Kitty hat

Just a quick post -

made this hat for the Oldest One for Christmas. She loves Hello Kitty. We don't encourage obsession with characters in our house, but this one seems a little more reasonable than many others to me, and I can only direct my kids' interests so much without getting a little (ha!) overbearing. So I'm giving into the love of Hello Kitty. And I made her a hat.

I'm giving it to her with a pair of store-bought Hello Kitty rain boots and a Hello Kitty shirt for Christmas, because while she still appreciates homemade things, she's old enough that store-bought clothes are pretty special too.

Tuesday, December 21, 2010

The Second Annual Cookie Exchange


I hosted the Second Annual Christmas Cookie Exchange on Sunday. I love it - it's totally dorky and housewifey but that's okay, because I'm totally dorky and housewifey.

Everyone bakes cookies. Lots of cookies. Then they bring the cookies, along with the recipes, to exchange with all the other guests. Then you leave with a bunch of different varieties. It's a neat way to sample new cookie recipes, and it gives you variety without so much baking.

We also have contests and play games...

and give out fun little Christmas-themed prizes.


And of course, the Golden Spatula Award is given out to the baker of the best cookies (she did give a good Academy-Awards type speech.)

Here's Lisa's winning recipe - Peanut Butter Cup Cookies

3/4 cup peanut butter
1/2 cup butter
1/3 cup white sugar
1/3 cup brown sugar
1 egg
2 Tbsp. milk
1 tsp. vanilla
1 1/3 c. flour
1 tsp. baking soda
30 miniature peanut butter cups, unwrapped

Preheat oven to 350. Cream together peanut butter, butter, and both sugars. Add egg, milk and vanilla and blend together. Combine flour and baking soda and gradually add to creamed mixture. Shape into balls and place on ungreased cookie sheet. Bake for 10-12 minutes. Immediately remove them from the oven a press a peanut butter cup into the center of each cookie.

And I'm going to share this one with you too, for Oreo Truffles, because Chloe loves them so much (and they were a very close runner up in the contest!)

Chloe was laying in bed yesterday at 8:30 in the morning. I asked what she was doing and she said, "Trying to go back to sleep." When I asked why on earth she was doing that, she said, "Because I was dreaming about Oreo Truffles and I wasn't ready to wake up yet."

So here's the recipe. Because they're good enough to induce chocolate-filled dreams. (Thanks Jamie, for the cookies and the recipe!)

Oreo Truffles

1 16-ounce package of Oreos
1 8-ounce package cream cheese, softened
2 8-ounce packages Semi-sweet baking chocolate, melted

1. Crush 9 of the cookies to fine crumbs in food processor. Reserve for later us. (Cookies can also be finely crushed in a resealable plastic bag using a rolling pin.) (My note: I love smashing things with rolling pins. This part of the directions just makes these cookies that much better!) Crush remaining 36 cookies to fine crumbs. Place in a medium bowl. Add cream cheese. Mix until well blended. Roll cookie mixture into 42 balls about 1-inch in diameter.

2. Dip balls in chocolate, place on wax paper-covered baking sheet. Any leftover chocolate can e stored at room temperature for another use. Sprinkle with reserved cookie crumbs.

3. Refrigerate until firm, about 1 hour. Store leftover truffles covered in refrigerator.

Did you read all that? Then you'll notice the only ingredients are Oreos, cream cheese, and chocolate. I can't decide if that's fantastic or disgusting, but they really are very good!

Thanks to all the wonderful ladies that came and shared their cookies! I look forward to doing it again next year!


Sunday, December 19, 2010

An Early Christmas Present

"...Nellie asked, 'Don't you wish you had a fur cape, Laura? But your Pa couldn't buy you one. Your Pa's not a store keeper.'"


But on Christmas at the church...

Laura was too excited to speak. She squeezed Mary's hand tighter and tighter, and she looked up at Ma, wanting so much to know what that was. Ma smiled down at her and answered, 'That is a Christmas tree, girls. Do you think it is pretty?'...

...Just then, Laura saw the most wonderful thing of all. From a far branch of that tree hung a little fur cape, and a muff to match!...

The little fur cape and muff still hung on the tree, and Laura wanted them. She wanted to look at them as long as she could. She wanted to know who got them. They could not be for Nellie Oleson, who already had a fur cape...

...And suddenly someone said, 'These are for you, Laura.' Mrs. Tower stood smiling, holding out the little fur cape and muff...

...Laura could not speak. The golden-brown fur cuddled her neck and softly hugged her shoulders.


"'Merry Christmas, Nellie,' Laura said. Nellie stared, while Laura walked quietly on, with her hands snuggled deep in the soft muff. Her cape was prettier than Nellie's, and Nellie had no muff."

from On The Banks of Plum Creek
by Laura Ingalls Wilder


====

When we read that part a couple of months ago, Chloe's eyes were shining as she said, "Oh, I bet they were so beautiful." When she opened these, she knew exactly what they were: "It's a fur cape! And a muff! Just like Laura's!"


Details on the cape and muff:

I used a pattern for the cape: McCalls 4703. It was terribly easy, just about anyone could do it. I lined the fur with a matching satin on the inside so it's nice and soft and not itchy around her neck. Fur is - of course - misery to sew on. But worth it. I never did get my machine to make the buttonhole through like five layers of fur - I just made it by hand.

The muff I didn't use a pattern for. It's just two rectangles sewn facing one another then turned so it's fully lined with fur. I did put in a satin ribbon so that it will hang for her neck - because little girls tend to forget they're wearing such things and muffs and pull their hands right out. With the ribbon, it'll stay put even when her hands don't.


This whole project cost about $15 between the fur, satin (30% off), and pattern ($1 pattern sale.) With my goal for not giving my kids a bunch of plastic toys made in China this year for Christmas, homemade things fit right in. The fur is American made, and so is the pattern. I couldn't find any info on the bolt for the satin, but even if it's not American, two out of three isn't bad. Overall, a wonderful little project.

And now I get to be the mother of the little girl who goes to the grocery store wearing jeans, a t-shirt, and a fur cape and muff. Because we Miller girls are fashion-forward like that.


Friday, December 10, 2010

Holiday Treat Making with Two Little Girls


Just a collection of photos from our day spent in the kitchen...


Give a toddler six eggs to crack, and you'll make her day.

Big Sister is old enough this year to melt the chocolate on the stove, and she feels mighty proud about it.

Good sisters share the spatula.


Sheer and utter concentration.


Don't try to fight the mess. Just embrace it.


Happy Holiday baking, from our family to yours!


Monday, December 6, 2010

Homemade Hot Cocoa

Two facts about me:

1) I really haven't ever liked hot cocoa. I've tried to get better about it over the years, but it just hasn't ever done anything for me.

2)I've always had hot cocoa made from a powder that you add to boiling water.

The other night I made hot cocoa from scratch. It was the best hot cocoa I have ever tasted. (Which isn't saying much. Refer back to #2.) In talking to others my age, I realize I'm not alone in this horrible example of childhood deprivation: many other folks my age were subjected to the same level of depravity, our mothers adopting the Swiss Miss version of cocoa in place of something actually made of milk.

I usually make cheese or yogurt when I have extra milk at the end of the week, but to heck with useful, healthy dairy. I'm just gonna start making a half-gallon of cocoa every week. To be fair, while I wouldn't call it "healthy", it's probably about the closest to healthy any real hot cocoa could be.

Here's my version of the recipe, which originally came from allrecipes.com. I added the "normal" ingredients in parentheses, because I realize not everyone cares about silly things like raw milk and evaporated cane juice.

2/3 cup unsweetened cacao powder
1 cup evaporated cane juice (sugar)
1/4 tsp sea salt
2/3 cup boiling water
7 cups raw milk
1 tsp vanilla extract
1 cup of cream skimmed off the top of the milk before pouring (think half and half or even heavy cream)

Dissolve the sugar and cocoa in the boiling water on the stove in a large pot. Whisk until smooth, and cook a bit til fully dissolved. Then add the milk and vanilla, stir constantly until too hot to drink. Swirl in the cream and serve. This makes 8-1 cup servings. Half it if you aren't planning to share.

This whole process takes about 15 minutes. It's absolutely worth the effort. If you've never had cocoa made from scratch before (or if you have, but not lately) you should definitely try it.


Sunday, December 5, 2010

Homeschool Science: The International Buffet

You just never know when you might run into a learning opportunity...

like dinner out with friends, where there might be an octopus on the buffet that can be poked and prodded and examined.
Or eaten...

She didn't really. Sissy.

This shot is proof that homeschooling starts at a very early age:


Thanks to my dearest friend Katie, for letting me put theses pictures of her adorable family on my blog!


Thursday, December 2, 2010

Crafting for Hanukkah - Star of David Mobile


This is a fun little craft that involves lots of sticky, messy glue, by default making it a hit with small children.

We used six different fabric trims in different shades of blue and gold, each one cut into six 3" strips.

You dip the strips into fabric stiffener (or white glue, if you don't happen to have a bottle of fabric stiffener around) and squeeze out the excess (the particularly fun part)...


Then lay them out on wax paper in the shapes of Stars of David. We let ours dry overnight before peeling them off the wax paper.


Then we covered dowels with blue ribbon, tied the stars up with embroidery floss, and added another string of floss for hanging. It looks neat if it's hung where the stars can turn freely.


If you don't celebrate Hanukkah and don't know anyone that does, you can stiffen just about any kind of fabric this way and make all sorts of cool creations.

And on that note, Happy Hanukkah!


Edited to add: After some confusion, I thought I should reiterate that the craft uses fabric stiffener, not fabric softener. I'd hate for someone to try this with fabric softener and be disappointed!

Wednesday, December 1, 2010

Germs: In the Eyes of a Three Year Old


Thoughts from a three year old while baking "snowball" cookies:

When she dropped some dough on the floor while she was rolling it, I told her she needed to put it in the trash now because it had germs on it. After inspecting it closely she said, "I don't see any germs, it's okay."

When she dropped another one that only fell to her step stool and I said it should go in the trash too, she said, "It's okay Mama. It only falled on my toes. My toes don't have any germs."

"Why do we need to give some to Mr. Sherman (our elderly neighbor)? We already gived him cookies last Christmas."

"Mama? Can't we please keep some cookies for my belly, too? Our friends don't need lots and lots of cookies."

===
Snowball cookies are an important part of Christmas from my childhood, one of my fondest cookie memories. I even go so far as to buy white flour and sugar when I make them (because if they were made of whole wheat flour, they would look more like dirt balls instead of snow balls.) Here's the recipe my mom gave me the year I moved out of my parents' house:


Russian Teacakes (or Snowball Cookies)
1 cup butter
1/2 cup confectioner's sugar
2 1/2 cup white flour
3/4 cup chopped walnuts
1/4 tsp. salt
1 tsp. vanilla extract
1/3 cup confectioner's sugar for decoration

Combine all ingredients and mix well.

Roll dough into 1 inch balls and bake for 15 minutes at 350 degrees.

Once baked, while still hot, roll in confectioner's sugar until coated. Let cool, then dust with more confectioner's sugar.

Makes 24 cookies.

(If you want to freeze them for later, freeze them after rolling in confectioner's sugar the first time, then dust them with more sugar after they're thawed.)